- Hardware Manuals
- Commissioning and Tuning Guide
- Software Reference
- Resources
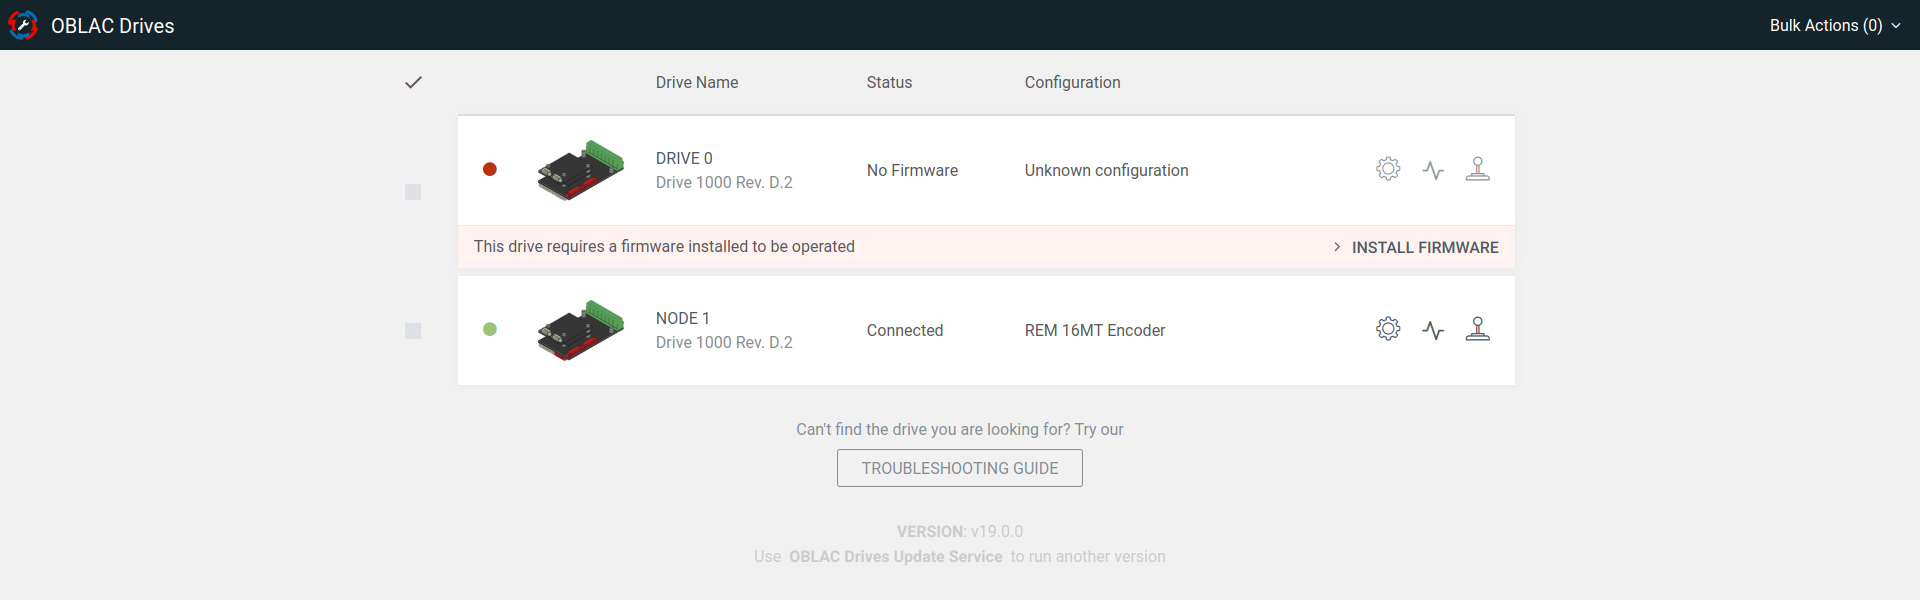
Once OBLAC Drives has been installed, you can open a browser window using the IP address shown in your virtual machine and you will find all the connected drives. In our example, the connected drive does not have firmware installed (which is the default state after delivery of our drives).
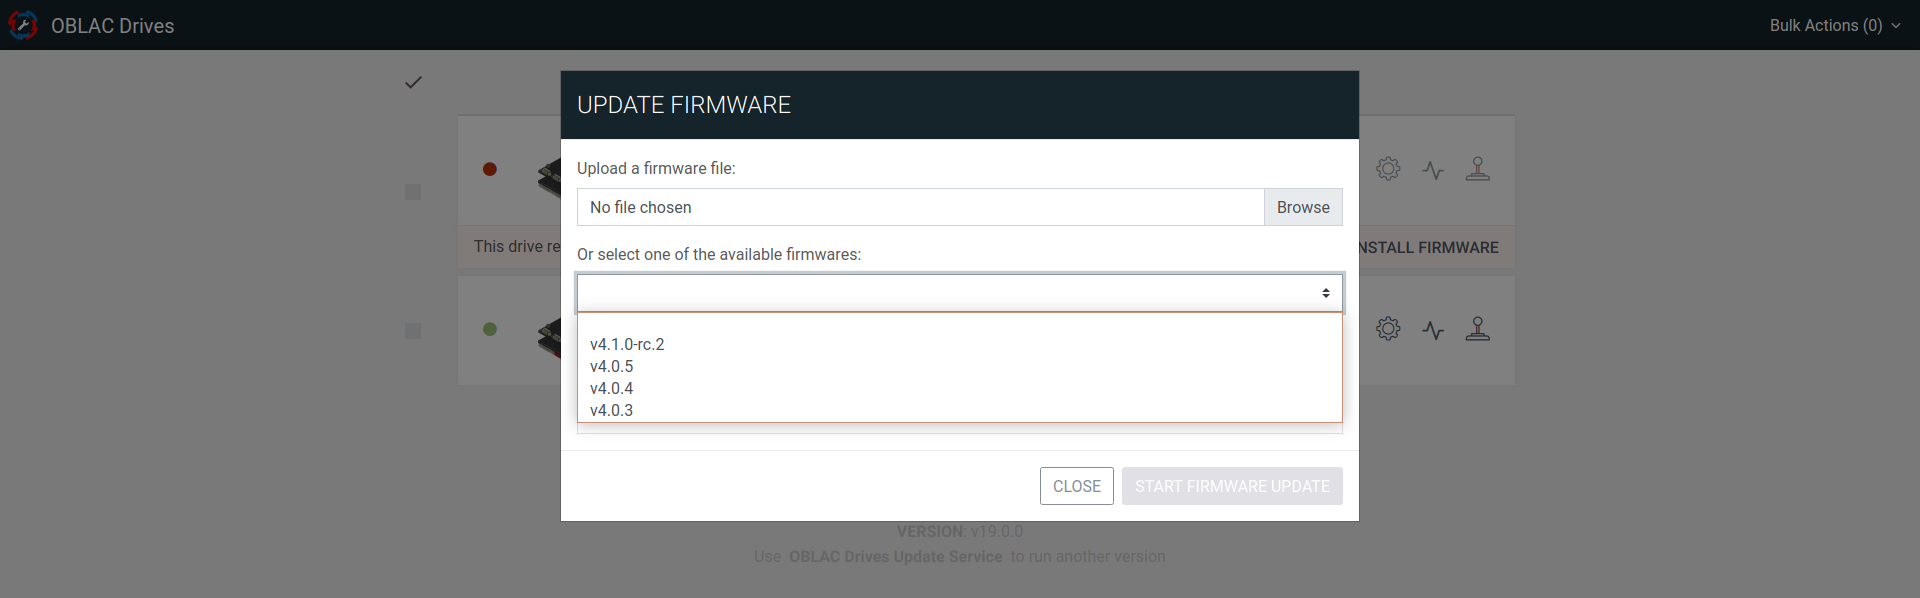
When clicking on the “Install firmware” link, a dialog box is opened in which you can choose the latest version of the firmware at the top of the list.
Once you clicked on the “Update” button, please wait until a notification pops up telling you that the installation is done.
Note
Please make sure to select a firmware that fits your version of the Drive module.
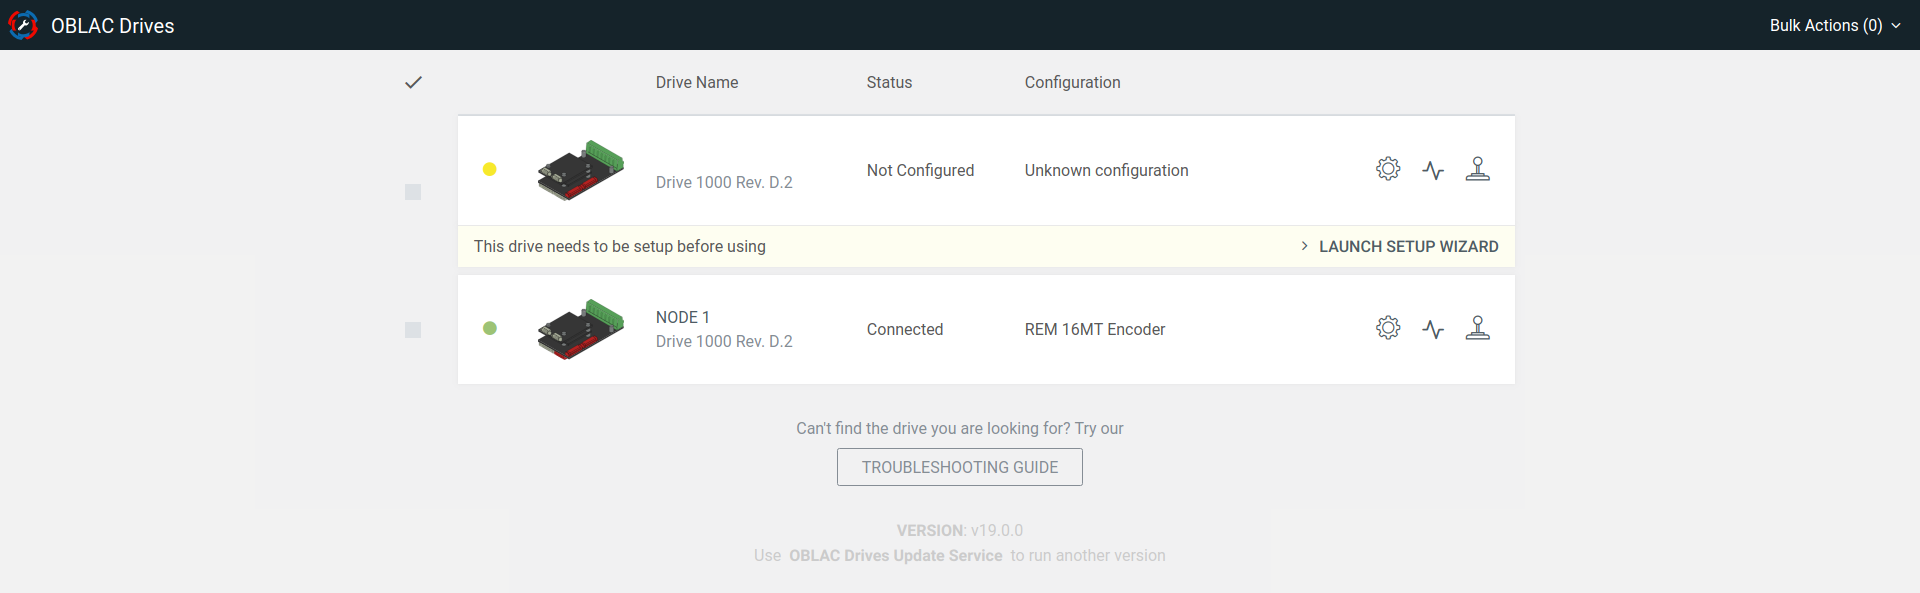
After the firmware is installed, OBLAC Drives will restart the tools, this will take a few moments. Once the connected drives are initialized again, OBLAC Drives will show a message that the drive isn’t configured yet.
Note
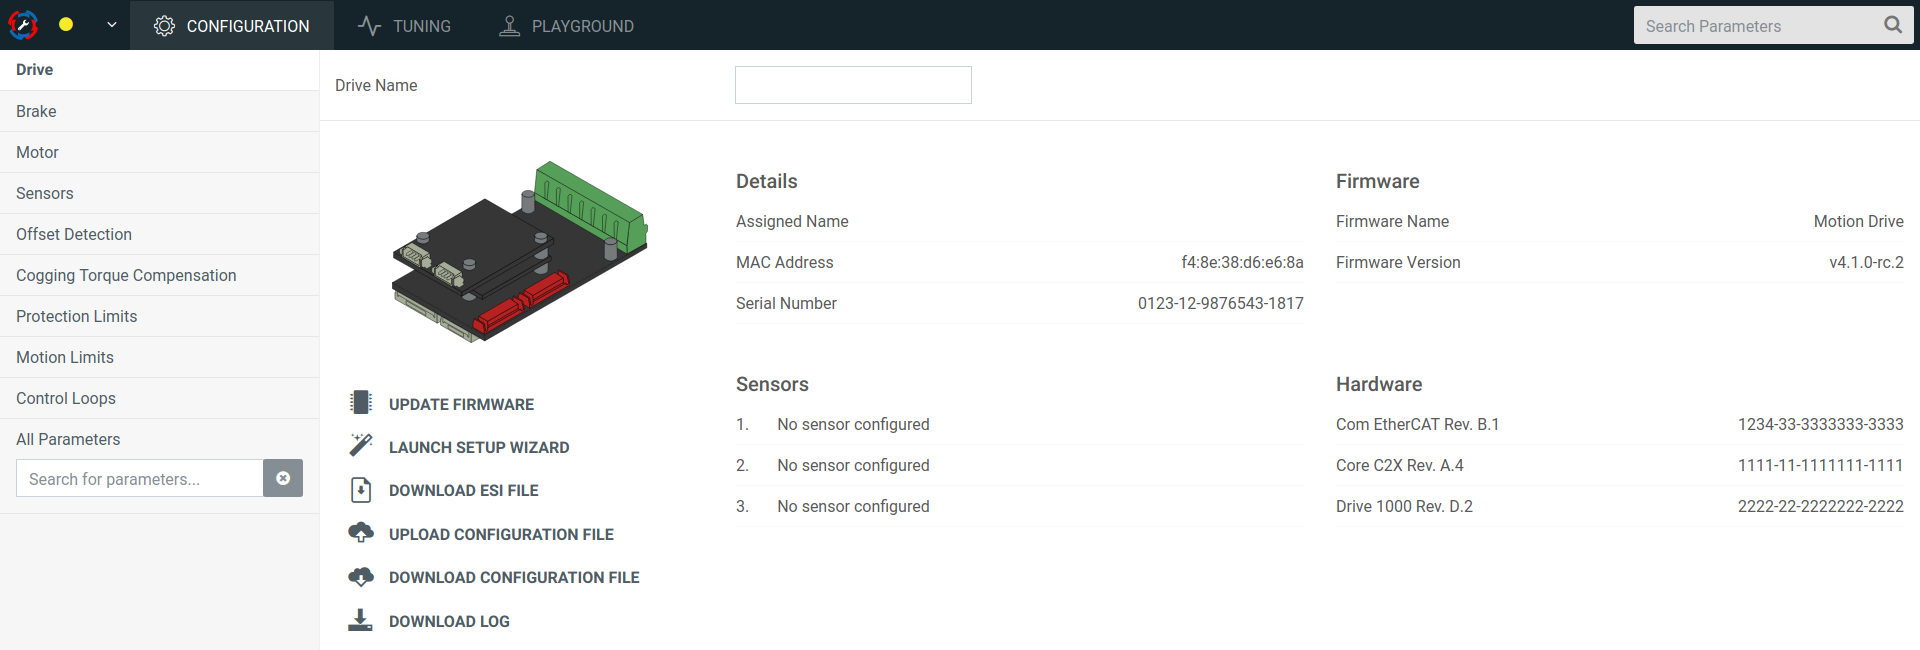
If you want to update your firmware, please click on the drive icon and select Install Firmware
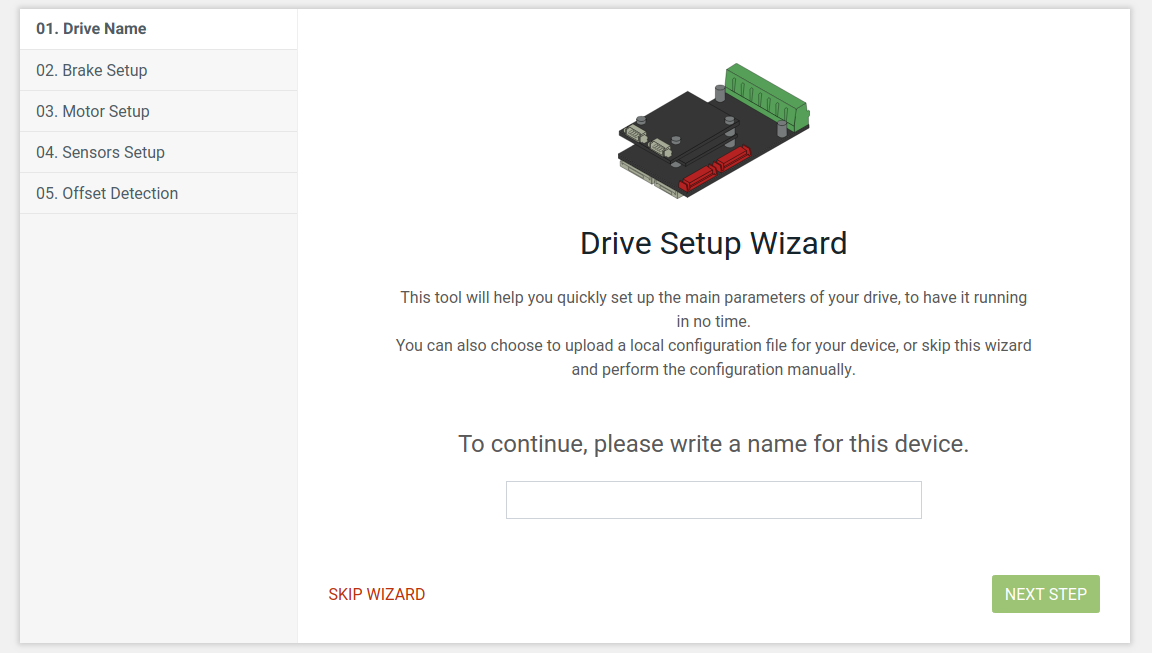
Click on the “Launch Setup Wizard” link to open the setup wizard. It will first ask you to give a name to your drive.
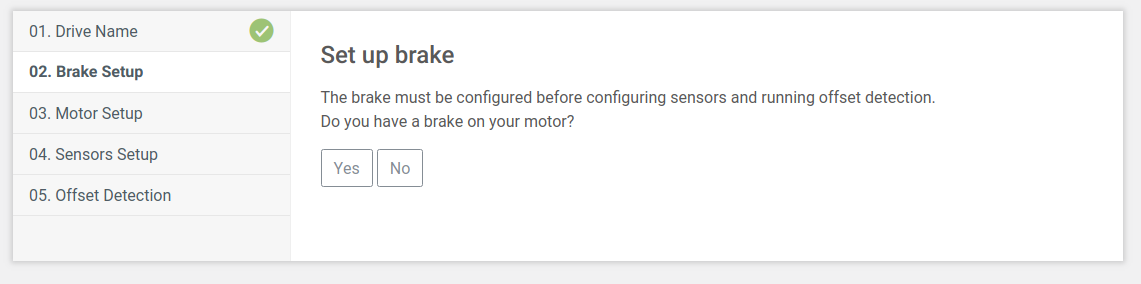
First you need to determine if you have an attached brake.
If you have a brake, insert the parameters.
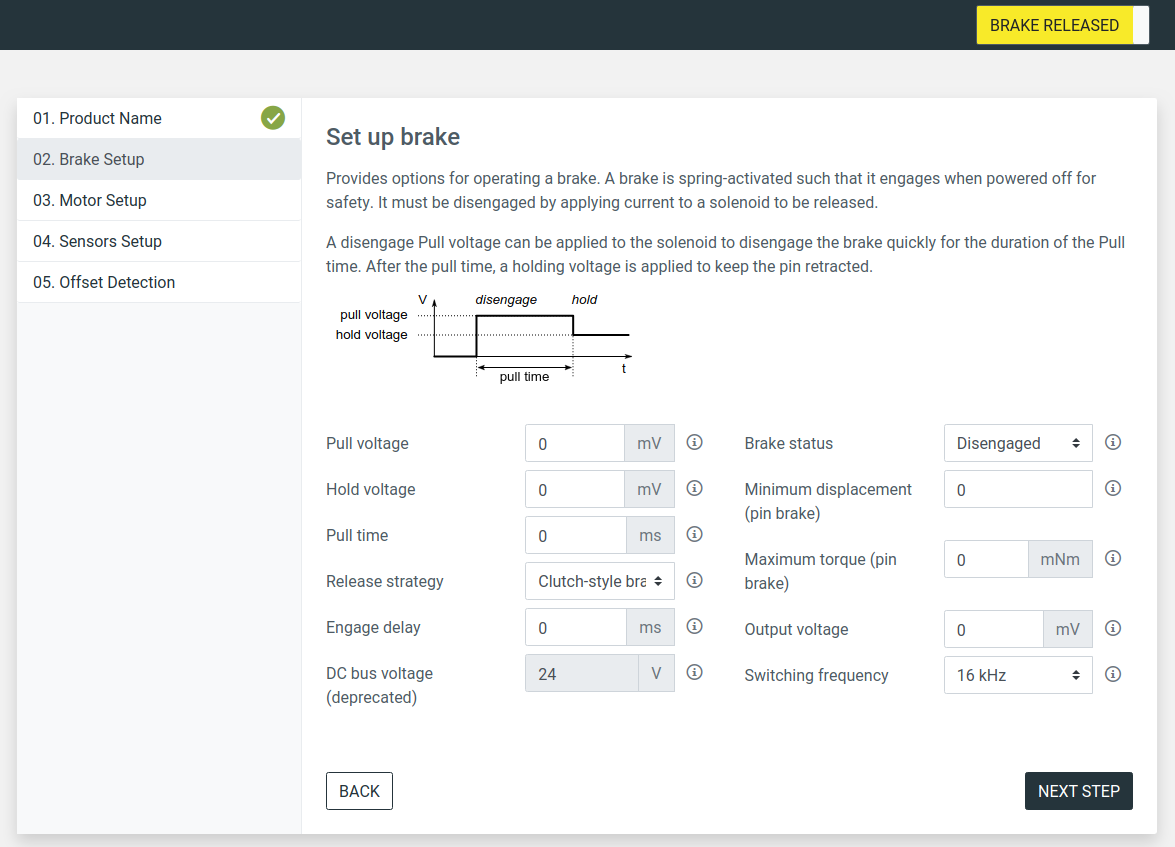
The release-strategy will be set to clutch-style brake by default.
Note
When you click the button to release the brake, it will apply a pull voltage to the brake but it will not perform the behavior for shaking free as described in the brake release feature. So if you have a pin-style brake, please ensure that no heavy load is attached to the motor.
After clicking on “Next” you will be asked for details of the connected motor.

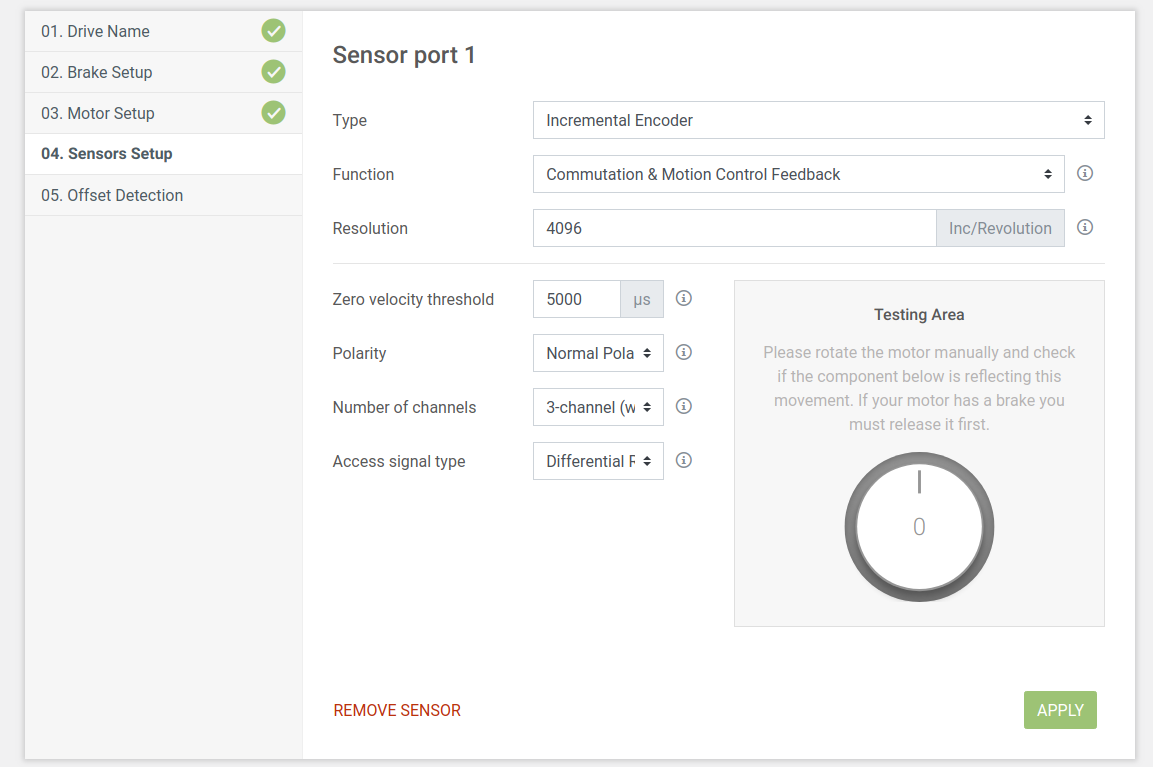
Then it shows a sensor configuration page, where you can add, remove and configure your connected encoders.
Attention
It is of vital importance to have exactly one encoder configured for Commutation so that the motor shaft’s position is known to the commutation algorithm. In case your setup requires it, you can use a different encoder for Position or Velocity. In this case, the demanded and actual velocities will be scaled to the same reference frame of the position.
To configure an encoder, click onto “details” and set the parameters as you wish. If you want to use this encoder as a motion control sensor, you will be able to test if it is properly configured in the testing area.
Refer to our software section for more details about encoder configuration.
The last step of the setup wizard will guide you through the offset detection. The procedure starts with a value of 100% which should yield good results.
Note
When using a power supply that can’t provide the rated motor phase currents, set the slider to a lower value. This may be indicated by the error “Undervoltage”.

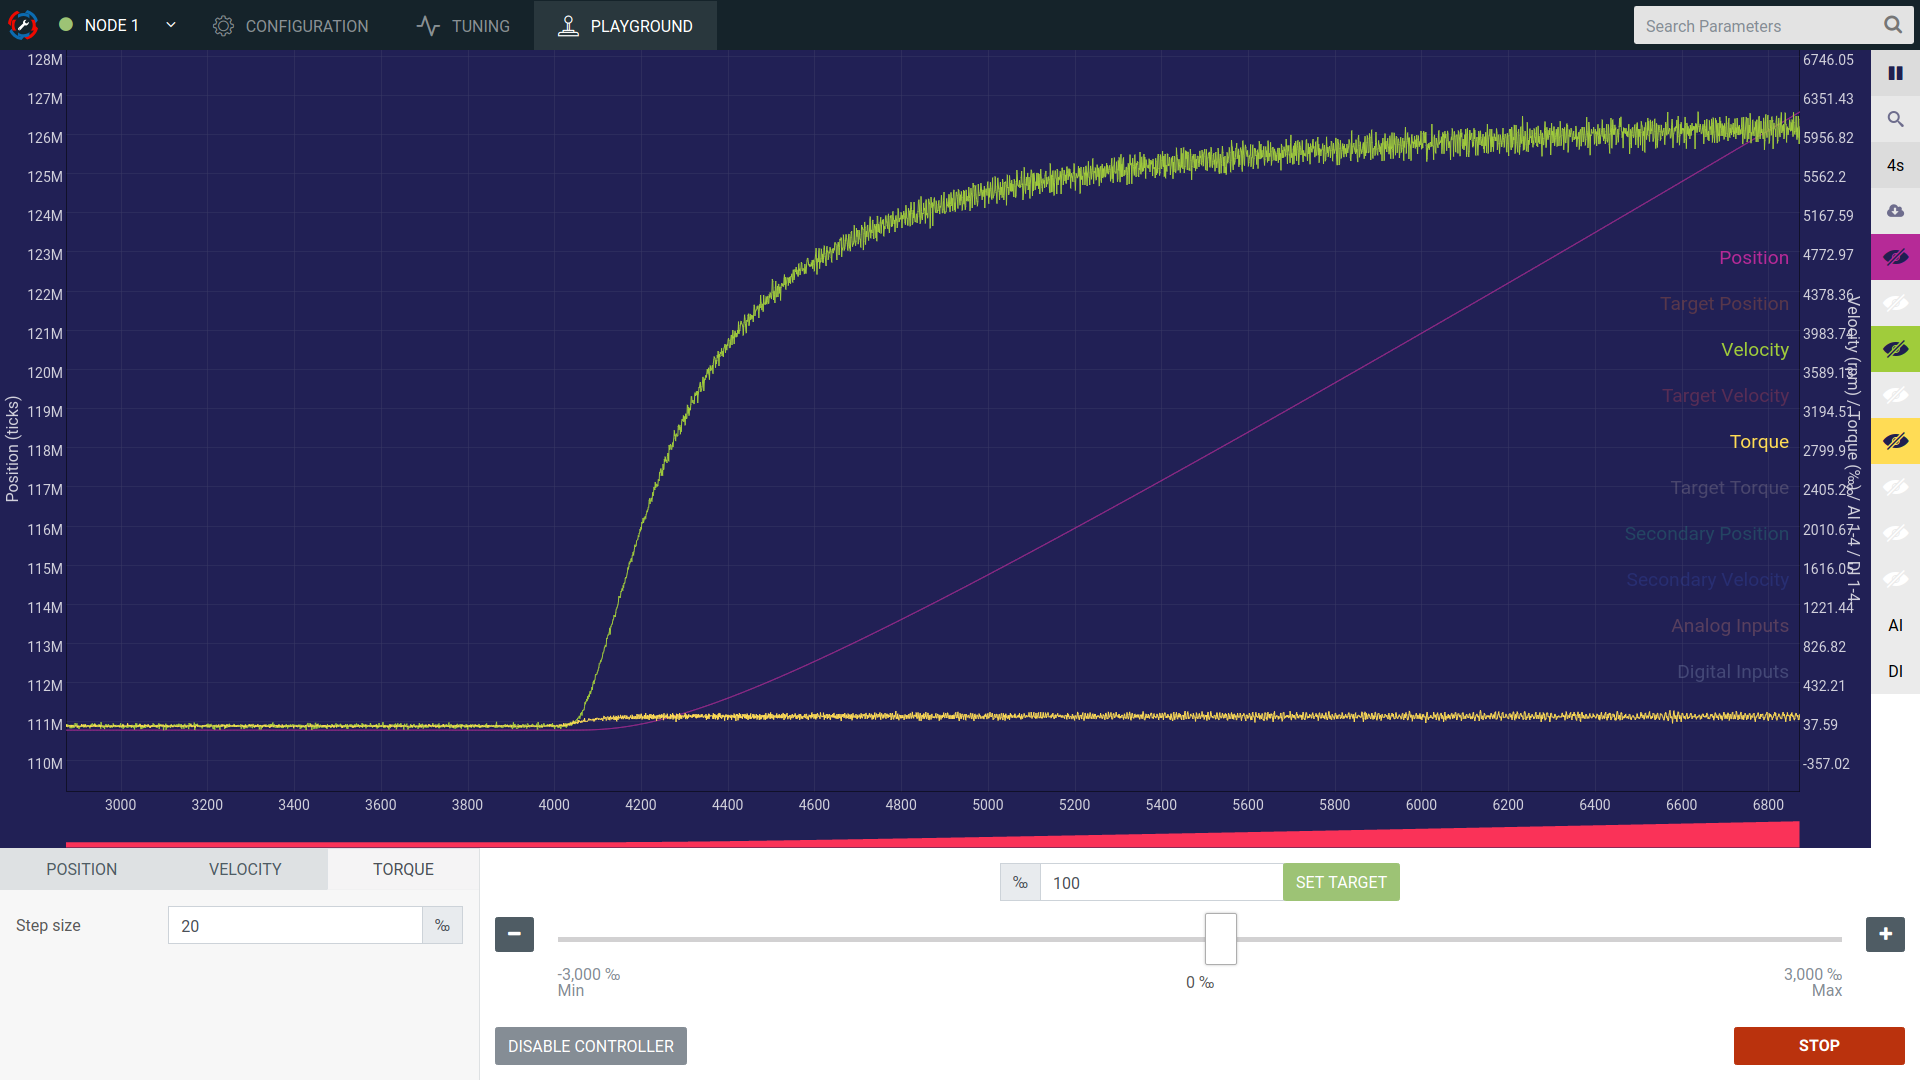
After finishing the wizard, OBLAC Drives will open the “Playground”, where you can test the basic functionality of your new SOMANET drive setup.
Now you should tune the controller gains for precise motion:
